Using virtual services
Virtual services provide a way to section off GeoServer layers. Using virtual services, a user can interact with GeoServer through standard OGC protocols while only a subset of the published layers is visible. This is advantageous for when there are multiple project administrators working on the same GeoServer instance, or when a given GeoServer instance is serving a large amount of layers, making the capabilities documents time-consuming to load.
Virtual services operate by providing workspace-specific endpoints for OGC services. Using these endpoints, the user/client will only “see” the layers associated with that particular workspace.
From an administration perspective, virtual services allows the roles of GeoServer administrator and project administrator to be separated.
This tutorial will show how to implement a typical scenario utilizing virtual services.
Note
Read more about Virtual Services in the GeoServer reference.
Scenario
There are two project administrators working on the same GeoServer instance. One is working on the Lakes project. She wants to be able to load and administer all of the data related to her project, but does not need to know about or administer any other project. The other project administrator is working on the Traffic project. He too wants to be able to load and administer all of the data related to his project, but does not need to know about or administer any other project.
To configure this scenario, the following steps must be taken:
- Create two workspaces:
lakesandtraffic - Load all relevant data to the proper workspace
- Instruct usage of virtual services endpoints
- Disable global service endpoints
Creating workspaces
First, configure the virtual service endpoints.
From the GeoServer web interface, log in to the administrator account.
Click Workspaces.
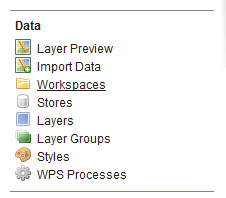
Click to manage workspaces
Click Add new workspace.
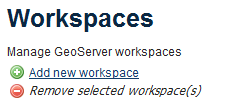
Click to add a new workspace
Fill out the form:
- In the box titled Name, enter
lakes - In the box titled Namespace URI, enter
http://lakes. - Do not check the Default Workspace box.
Click Submit when done.
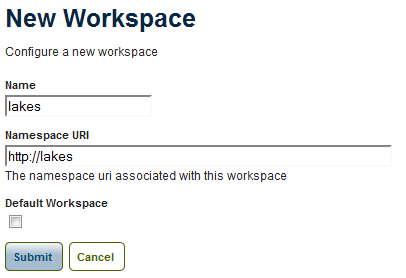
New workspace: Lakes
- In the box titled Name, enter
Click on Add new workspace again.
Fill out the form:
- In the box titled Name, enter
traffic - In the box titled Namespace URI, enter
http://traffic. - Do not check the Default Workspace box.
Click Submit when done.
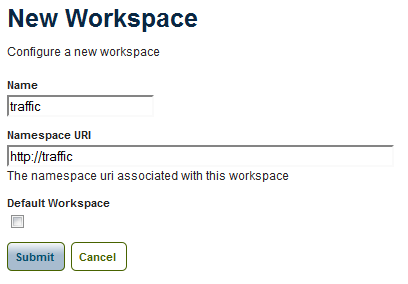
New workspace: Traffic
Note
Workspace creation can also be done programmatically through the REST API by submitting a POST request to this endpoint:
http://<GEOSERVER_URL>/rest/workspaces
with the following content:
<workspace><name>lakes</name></workspace>
- In the box titled Name, enter
To verify that the virtual service endpoints have been configured correctly, navigate to the following URLs:
http://<GEOSERVER_URL>/lakes/wfs?request=GetCapabilities
http://<GEOSERVER_URL>/traffic/wfs?request=GetCapabilities
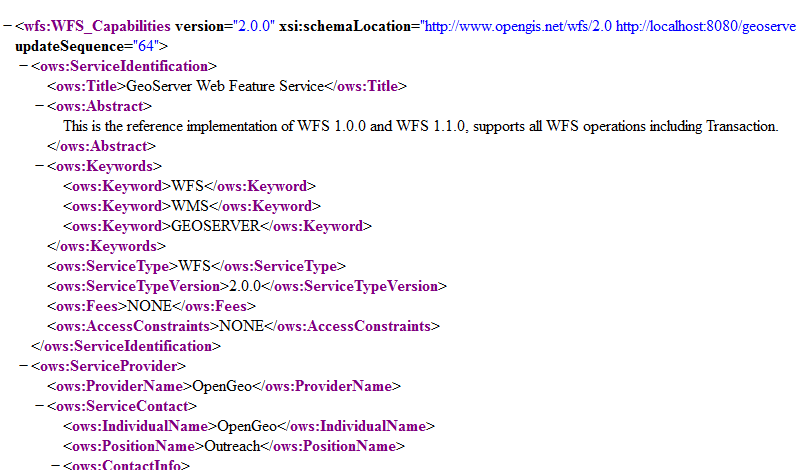
A valid capabilities document from a virtual service
If a valid capabilities document displays, the workspaces were set up correctly. If a 404 error page displays, the workspace may not have been created successfully. If so, please retry the above steps.
Similar verification can be done with the equivalent WMS virtual service endpoints:
http://<GEOSERVER_URL>/lakes/wms?request=GetCapabilities
http://<GEOSERVER_URL>/traffic/wms?request=GetCapabilities
Setting virtual service metadata
It is possible to have separate metadata for each virtual service. To change the metadata for each virtual service:
From the main GeoServer menu, click Workspaces.
Click the lakes workspace.
Under the Settings section, click the Enabled checkbox. This will enable workspace-level metadata, and create a copy of the global service metadata.

Enabling workspace-specific metadata
Make any changes to the metadata as desired. Click Save when finished.
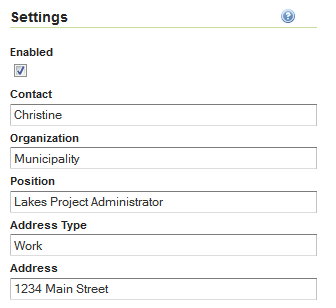
Editing workspace-specific metadata
Verify that the changes have been applied by executing a GetCapabilities request to the virtual service endpoint as above:
http://<GEOSERVER_URL>/lakes/wms?request=GetCapabilities
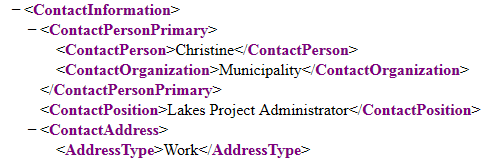
Capabilities document with virtual service-specific metadata
Repeat this process for the traffic workspace.
Loading layers
The process for loading layers remains unchanged. See the section on Working with your data for more information. Make sure that all layers and stores are in the appropriate workspace.
Note
If layers had been already loaded prior to the creation of these workspaces, the layers will need to be migrated to the appropriate workspace. To migrate layers from one workspace to another, move the stores that the layers are contained in, and all the contained layers will switch workspaces.
Loading styles
Note
Because styles are visible in all virtual service endpoints by default, this step is optional.
Styles for layers are not workspace-specific by default. To set a style to be visible only for a given workspace:
From the main GeoServer menu, click Styles.
Click on the name of the style to edit.
Under the Workspace heading, select the appropriate workspace.
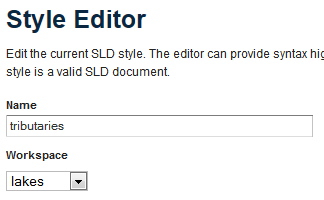
Setting a workspace-specific style
Verifying virtual services
Now that all layers are in their appropriate workspaces, verify this by navigating to any of the virtual service endpoints mentioned above:
http://<GEOSERVER_URL>/lakes/wms?request=GetCapabilities
http://<GEOSERVER_URL>/traffic/wms?request=GetCapabilities
Scroll down in the document to the <Layer> section (<FeatureTypeList> for WFS). The layers loaded in that workspace should be listed but should also be the only layers listed.
You can also verify virtual services in GeoExplorer.
Open GeoExplorer.
Open the Add Layers dialog.
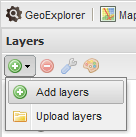
Adding layers in GeoExplorer
In the select box titled View available data from:, select Add a New Server....
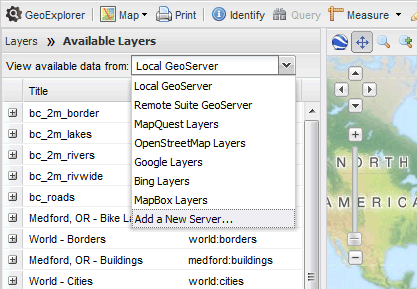
Adding a new WMS server in GeoExplorer
In the URL field, enter one of the WMS virtual service endpoints.
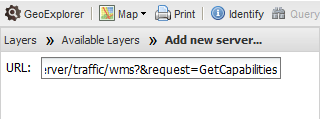
Entering the virtual service endpoint
Click Add Server.
The layers listed should be only those loaded into that particular workspace.
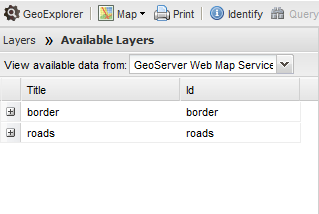
Virtual service layers
Restricting global services
A key benefit of virtual services is segmentation; no user needs to see every single layer in GeoServer. Because of this, once workspaces are properly set up, global services can be disabled.
Click Global under Settings.
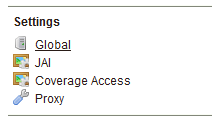
Click to manage GeoServer global settings
Uncheck Enable Global Services.
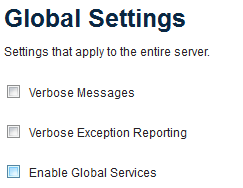
Global service disabled
Click Submit.
Note
Disabling global services can also be done programmatically through the REST API by submitting a PUT request to this endpoint:
http://<GEOSERVER_URL>/rest/settings/
with the following content:
<global><globalServices>false</globalServices></global>
Verify that the global endpoint has been disabled by navigating to the following URL:
http://<GEOSERVER_URL>/wfs?request=GetCapabilities
The response should include the following error message: “No workspace specified“
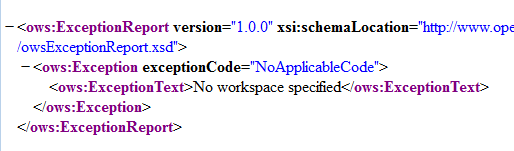
Exception when viewing a disabled global capabilities document
The virtual service endpoints will still be valid:
http://<GEOSERVER_URL>/lakes/wfs?request=GetCapabilities
http://<GEOSERVER_URL>/traffic/wfs?request=GetCapabilities