Executing processes using WPS Builder
WPS Builder allows for the creating of graphical process workflows that can be easily executed and reproduced. Processes that are available are the same as those available in GeoServer.
Note
WPS Builder is only available with OpenGeo Suite Enterprise. For more information on OpenGeo Suite Enterprise, please contact us.
WPS Builder application
Launching the application
By default, WPS Builder is available in the same application server as GeoServer under the context /wpsbuilder. So if GeoServer is available at http://localhost:8080/geoserver, WPS Builder will be available at http://localhost:8080/wpsbuilder.
Note
WPS Builder requires GeoServer to function properly.
Application panels
WPS Builder consists of three panels, from left to right:
- Process List
- Canvas
- Input/Output
The Process List panel contains a list of available processes that can be added to a workflow. They are divided into three categories, indicating the type of input geometry they operate on: Single Geometry, Raster, and Vector Feature Collection.
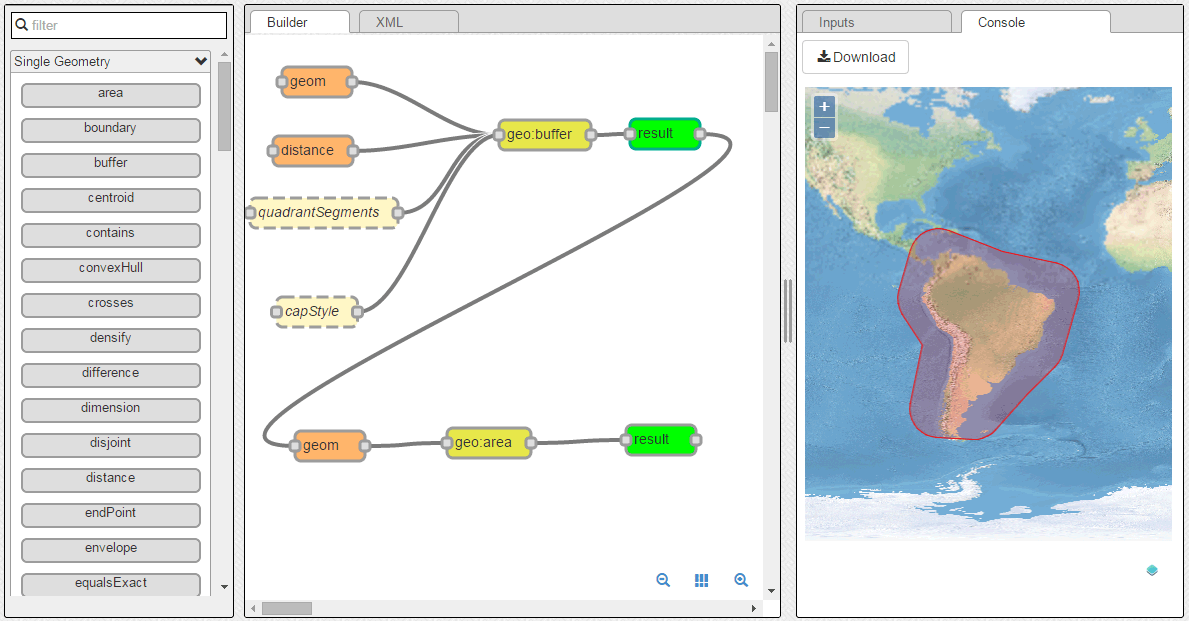
The Canvas panel is where the workflow is designed. Process blocks are dragged from the Process List and placed on the canvas, accompanied by their respective inputs. These inputs can be specified in the Input/Output panel, or connected to other processes to create a chain. Also available is an XML tab where the underlying request to GeoServer can be found.
The Input/Output panel is where inputs to processes can be specified, and where the result of a workflow is displayed.
Toolbar
There is also a toolbar at the top of the application. This contains one menu and four buttons.

Toolbar
The File menu allows for the current state of the workflow to be saved and retrieved. The workflow can either saved to the local browser cache or to the clipboard, where the code to reproduce the workflow can be copied to a file. The menu also has options for loading data from the browser cache and from the clipboard.
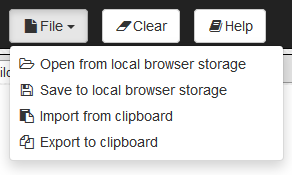
File menu
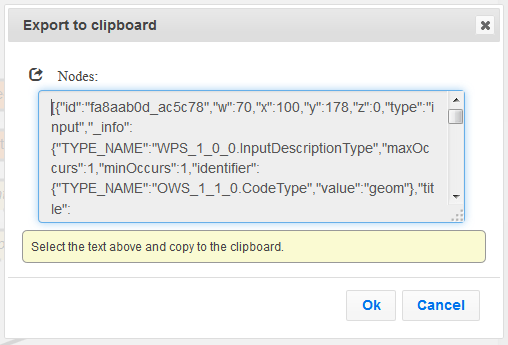
Exporting to clipboard
The Clear button will remove all contents of the Canvas.
Warning
This operation is not undoable.
The Help button brings up this content.
The Run Process button will execute the currently selected process or chain of processes in the Canvas.
Usage
Using the WPS Builder involves the following steps:
- Adding the processes to the workflow
- Setting the inputs for the processes
- Running the workflow
Adding a process to the workflow
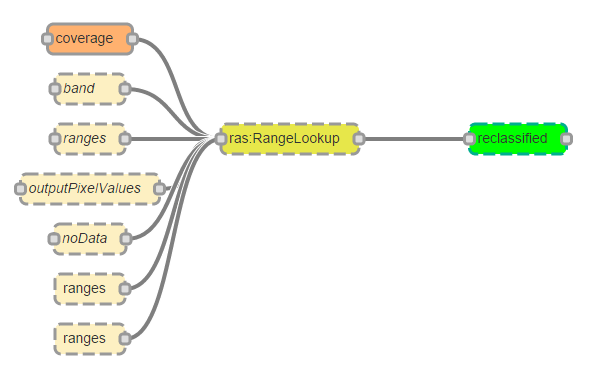
To add a process to a workflow, select it from the Process List and drag it onto the Canvas. The process block will be added in the location where it is dropped. Attached to it will be one or more input blocks, representing each of the inputs used to run the process. Also attached is a green block, often called result, for the output of the process. The block is only used when chaining to another process.
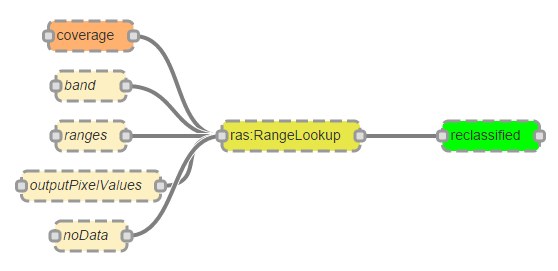
The ras:RangeLookup process added to the Canvas
To remove a process from the workflow, click the central yellow block to select it and press the Backspace or Delete key. You can also click the Clear button at the top of the screen to remove all processes from the Canvas.
Setting the inputs
Inputs used by a process are rendered in the canvas in two colors: light brown for those input parameters that are optional, and a darker brown for those that are required.
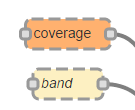
A required input and an optional input
If the parameter has correctly been assigned a value, the block will have a solid border.
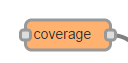
A valid input
If the parameter hasn’t been assigned a value, or if that value is invalid, the block will have a dashed border.
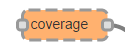
An invalid/unset input
All of the required inputs must be assigned a valid value (and have a solid border) before being able to run a process workflow.
There are two ways of setting a value for a given parameters:
- Selecting/entering the value directly in the Inputs tab of the Input/Output panel
- Linking the input to the output of another process
To set the value for a parameter using a specified value, click the parameter name. In the Input/Output panel with the Input tab selected, you will see an element corresponding to the parameter where the value can be entered or selected.
The type of the element depends on the type of parameter. For instance, for a string or numeric input you will have a textbox:
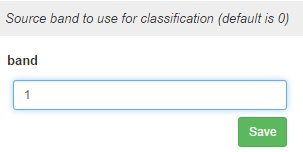
Input textbox
For a vector or raster input layer, there will be a box where a layer can be selected from layers available in GeoServer.
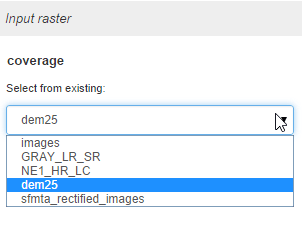
Input layer select
When the input is a geometry, this can be generated by drawing a geometry in the map (via Map):
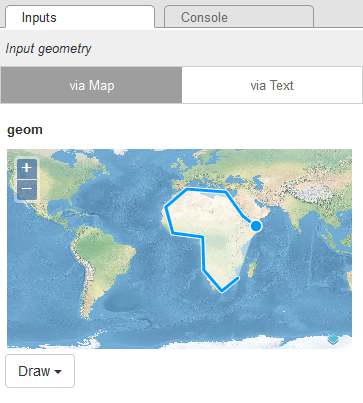
Map input
Or a geometry can be input via a text box, in either Well-Known Text (WKT) or GML (via Text).
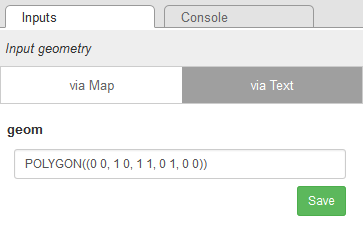
WKT input
Once you have entered or selected a value, click the Save button. Some parameter types need to be validated, and this validation will be shown here.
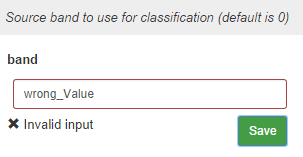
Invalid input
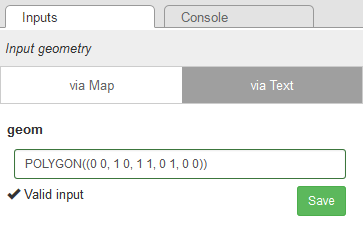
Valid input
Certain parameters allow multiple values to be used. In this case, you will see a button named +1 [parameter_name]:
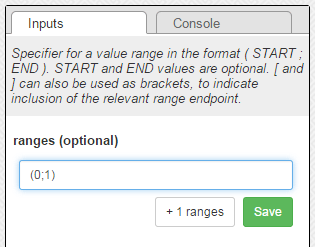
A parameter that can accept more than one value
Clicking this button will cause a new item to be added in the canvas as a parameter. Click the button as many times as needed, and then set the values of each of the new parameters individually.
Two additional “ranges” parameters added to the process
To link the input to the output of another process, make sure two processes are in the Canvas. Click the plug on the side of the green output block for one of the processes, and drag a wire to one of the inputs of the other process. If the connection is valid, the plug will be highlighted.
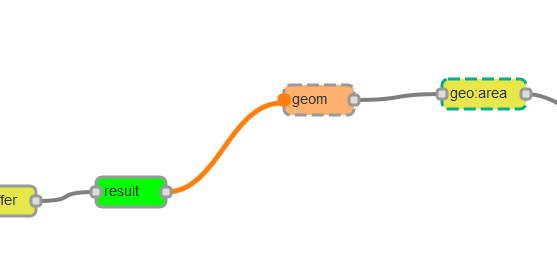
Chaining two processes
To remove a connection, click the wire so that it is highlighted, and then press the Backspace or Delete key.
Running a workflow
A workflow can consist of one or more processes with appropriate inputs.
When a workflow contains a single process, click any block to select it, and then click Run Process. To run a chain of processes, click a block associated with the final process in the chain, and then click Run Process.
Note
Every process can be run as its own workflow, even when an intermediate step in a chain. The process for running an intermediate process workflow is the same, in which case all process that come “after” the selected process will be ignored.
In all cases, a single request is sent to GeoServer, with chained processes encoded as nested inputs.
Results are either shown on the Console tab of the Input/Output panel or, depending on the output format, downloaded.
For vector layers, results will be shown on a map if the coordinate reference system of the layer is either EPSG:4326 (Mercator) or EPSG:3857 (Web Mercator).
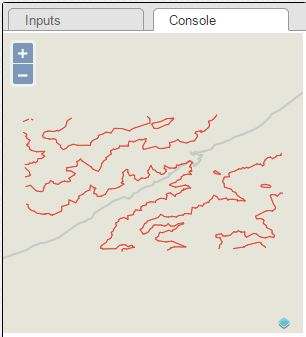
Output in map
Otherwise, the resulting layer will be output as GML.
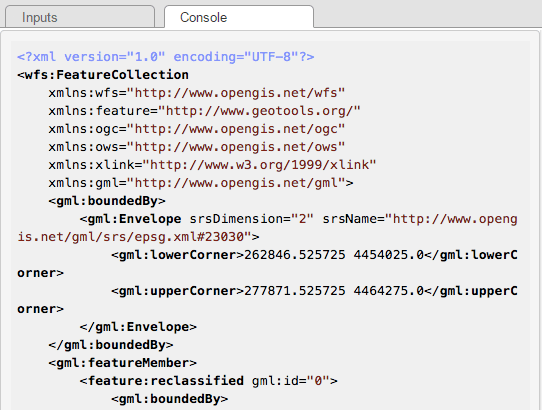
GML output
For raster outputs the result will always be downloaded, typically as a TIFF file.