Workspaces
This section describes how to view and configure workspaces. Analogous to a namespace, a workspace is a container which organizes other items. In GeoServer, a workspace is often used to group similar layers together. Layers may be referred to by their workspace name, colon, layer name (for example topp:states). Two different layers can have the same name as long as they belong to different workspaces (for example sf:states and topp:states).
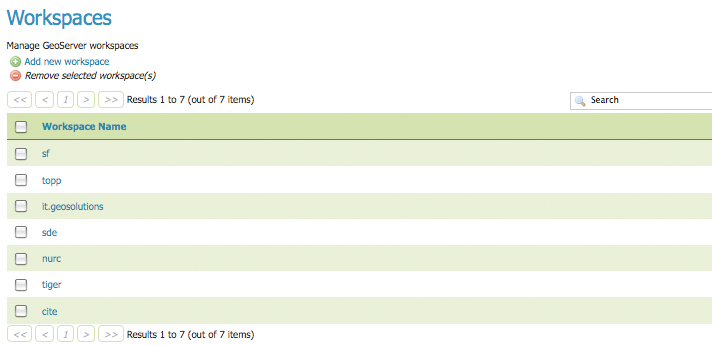
Workspaces page
Edit a Workspace
To view or edit a workspace, click the workspace name. A workspace configuration page will be displayed.

Workspace named “topp”
A workspace is defined by a name and a Namespace URI (Uniform Resource Identifier). The workspace name is limited to ten characters and may not contain space. A URI is similar to a URL, except URIs do not need to point to a actual location on the web, and only need to be a unique identifier. For a Workspace URI, we recommend using a URL associated with your project, with perhaps a different trailing identifier. For example, http://www.openplans.org/topp is the URI for the “topp” workspace.
Root Directory for REST PathMapper
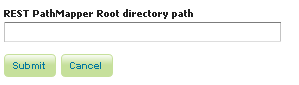
Workspace Root Directory parameter
This parameter is used by the RESTful API as the Root Directory for uploaded files, following the structure:
${rootDirectory}/workspace/store[/<file>]
Note
This parameter is visible only when the Enabled parameter of the Settings section is checked.
Add a Workspace
The buttons for adding and removing a workspace can be found at the top of the Workspaces view page.
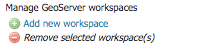
Buttons to add and remove
To add a workspace, select the Add new workspace button. You will be prompted to enter the the workspace name and URI.
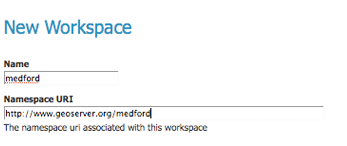
New Workspace page with example
Remove a Workspace
To remove a workspace, select it by clicking the checkbox next to the workspace. Multiple workspaces can be selected, or all can be selected by clicking the checkbox in the header. Click the Remove selected workspaces(s) button. You will be asked to confirm or cancel the removal. Clicking OK removes the selected workspace(s).
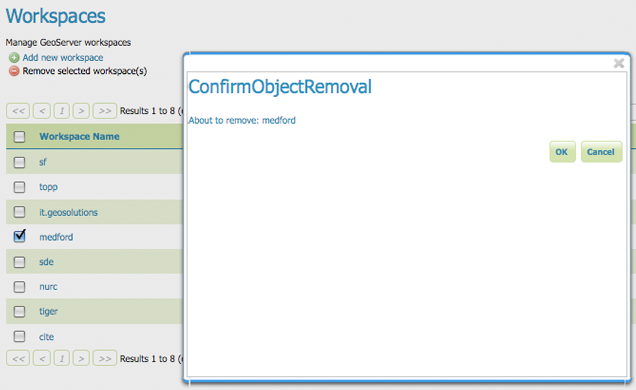
Workspace removal confirmation